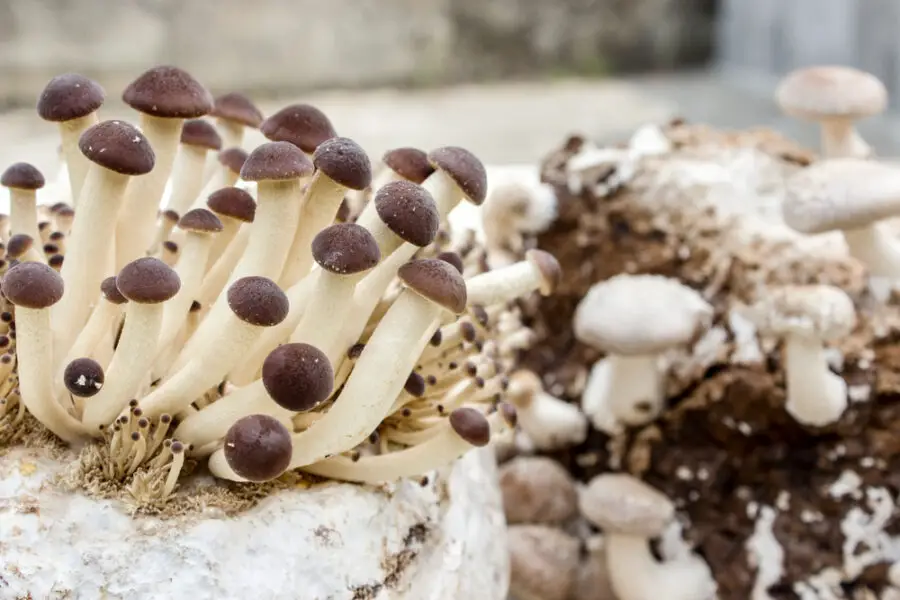
Nearly all mushroom kits will flush with fruit more than once, sometimes up to five times, and the mycelium from a spent kit that has finished consuming the substrate can often be made into a new kit by giving it a fresh substrate after resting. Alternatively, you can use the dried-out and spent kit for valuable mushroom compost.
The rest of this article will go into reusing a mushroom kit, how to get additional flushes of fruit out of your kit, what types of mushroom kits are easiest to reuse and make into a new kit, how to reuse a mushroom kit, and tips on composting your kit to fertilize other plants.
How Can I Get a Second (or Third) Flush of Fruit?
If you have waited a couple of weeks and haven’t seen signs of “pinning” or indications that another flush is imminent, there are some things you can try to prompt your mycelium to fruit.
While these tips do not universally apply for every mushroom variety, the best way to prompt your mycelium to fruit is to imitate the conditions of the mycelium reaching the surface.
To get your mushroom kit to flush again, you can try:
- Slightly increasing the temperature
- Slightly increasing the amount of light
- Lowering the carbon dioxide level
- Reducing the humidity
How Can I Tell that My Kit Is Done Flushing?
When the mycelium has consumed all of the substrate, the kit will be very light in weight. If you have been consistently caring for your kit according to directions, have tried to encourage it to flush with any of the tips listed above, and it’s been a month without any signs of “pinning” or the growth of immature mushrooms, it has cycled through its final flush.
How Do I Reuse a Mushroom Kit to Make a New Kit?
After you are sure the mushroom kit is done flushing, give it a rest in a cooler environment for a week or two, making sure to not let it dry out by spraying it daily. Then you are ready to renew your kit by giving the mycelium a fresh substrate to consume.
To start a new kit:
- Unwrap it and throw away the plastic wrapper
- Weigh and break up the mycelium
- Add fresh, dry substrate equal to 4 times the mycelium’s weight
- Mix the mycelium and substrate together in a new container
- Hydrate the mixture well
- Care for the renewed kit by spraying daily
- Follow the instructions that came with the original kit for daily care
What Substrate Should I Use?
The substrate you use for your mushroom kit will depend entirely on which variety of mushrooms you are growing. A little research online will reveal which substrate your mushroom variety prefers and yield the most delicious fruits for your efforts.
Common substrate materials include:
- Straw
- Wood Chips
- Clean Sawdust (free of chemicals)
- Manure
- Coffee Grounds
- Spent Grain
What Should I Grow My Reused Kit in?
After unwrapping the mycelium and throwing away the plastic wrapper it came in, you will need to give it an environment that will hold in moisture but allow for enough airflow so that the mycelium can breathe.
Common containers include 5-gallon buckets, sturdy plastic grow bags, and plastic tubs with lids, all with holes cut out to let in oxygen and to give the fruit room to expand out into the air.
Can an Outdoor Mushroom Kit be Reused?
There is no need to do anything to renew an outdoor mushroom kit once it has colonized a plot of soil. It will take 12 months for the spores to settle in, inoculate the ground fully, and establish a mycelium, then the kit will flush with fruit seasonally for many years to come.
Can a Log Kit Be Reused?
Log kits are more easily reused as mushroom compost than to inoculate another log or wood substrate.
If you want to try to start another kit with a spent log, break up the log as you would an indoor block kit and either mix it with sawdust/woodchips substrate or attempt to spread the spores in another log by drilling lots of holes in it and stuffing the mycelium chunks in the holes, then follow directions for your kit as normal.
Could I Just Compost My Kit?
Sometimes the effort required to renew a mushroom kit doesn’t seem worth it, especially since a new kit can be purchased so cheaply. Mushroom kits are reusable as compost even if you don’t want to continue to use them to grow mushrooms!
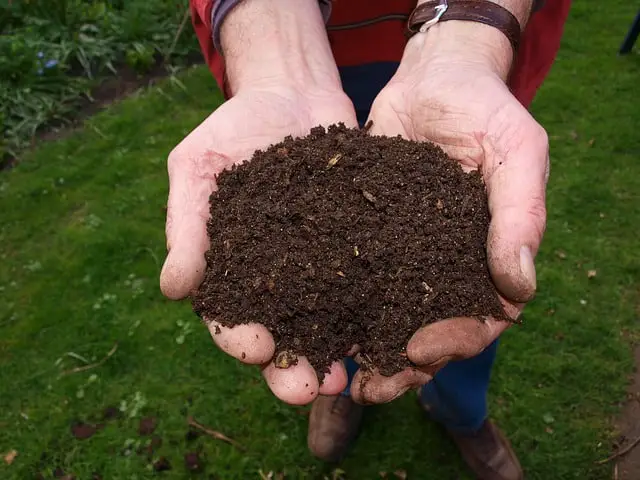
To compost your spent kit, crumble up the dried mycelium and leave it in the open air to age for 3-4 months outside. You can use the compost immediately if you don’t want to wait, but this is not recommended because the high salt content can “burn” some plants and trees.
What Kinds of House Plants Benefit From Mushroom Compost?
Mushroom compost is high in soluble salts and increases the water-retaining properties of the soil, so not all plants benefit from adding it to their soil or pot. Houseplants that thrive on an occasional and very small application of mushroom compost include:
- Ferns
- Boston Ivy
- Easter Lilies
- Hostas
- Winter Jasmine
- Spider Plants
- Elephant Ears
- Umbrella Trees
- Baby’s Tears
- Crotons
Can I Use Mushroom Compost Outdoors?
Yes, mushroom compost is beneficial for nearly all outdoor trees, flowers, herbs, and established garden vegetables. Be sure to spread it out, use it sparingly, and avoid using it around newly planted seeds or seedlings, as the high salt content in the compost can harm or kill them.
Which Plants Don’t Like Mushroom Compost?
Any acid-loving plant that can’t handle the salts or plants that don’t like it when their roots sit in soggy soil for too long should not be fertilized with mushroom compost.
Avoid applying mushroom compost to:
- Blueberries
- Azaleas
- Pothos
- Philodendrons
- Succulents
- Magnolias
- Rhododendrons
- Cranberries
- Tea plants
- Gardenias
- Hydrangeas
- Juniper
Hi, I’m John Stephens, chief editor and writer for Totalgardener.com. I’ve been gardening and raising animals for over 15 years starting with a small backyard plot in Northern Virginia where I grew corn, potatoes, squash, and using a high mulch technique called the Ruth Stout Method. I also raised ducks and small mammals for meat and eggs in a movable pen similar to the ones used by Joel Salatin. I later moved to Colorado where I experimented with growing greens using aquaponics inside. I eventually added a microgreens setup and home sprouting operation. I’m excited to share everything I’ve learned plus more from the other local gardening and animal raising experts I know.


