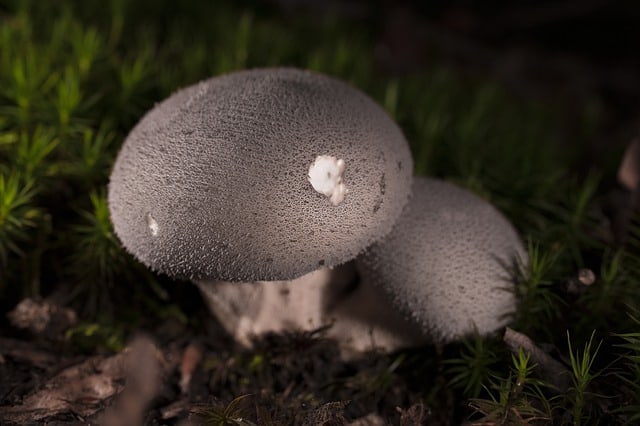
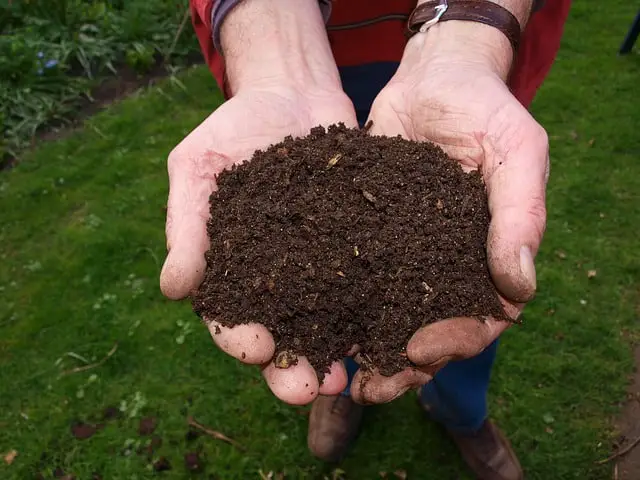
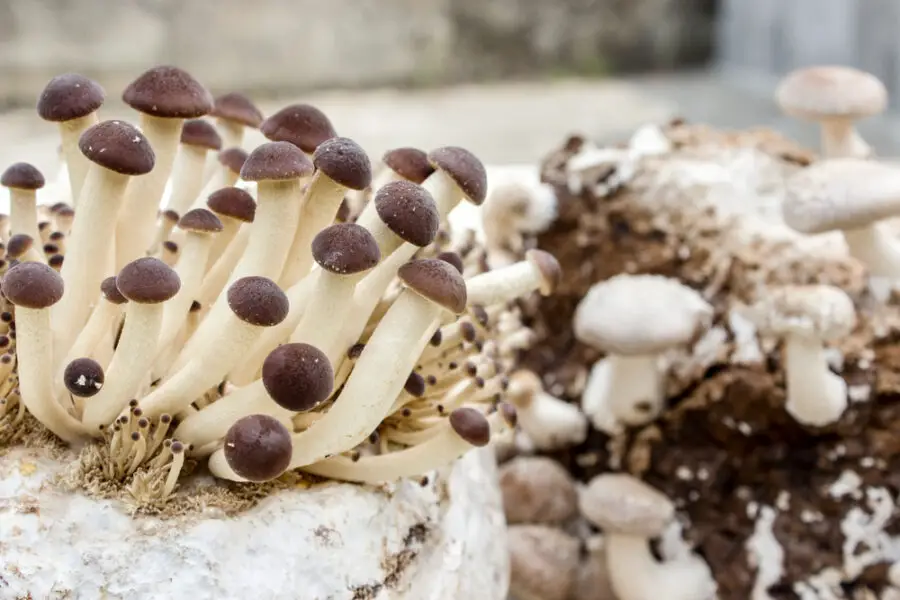
Can you grow puffball mushrooms? The answer to this question is maybe. Sadly, puffballs join morels as being one of the more difficult wild mushrooms to grow.
However, the process is easy and it doesn’t hurt to try. All you need to do is innoculate some distilled water with puffball spores and add some molasses to feed them. Let that grow for 2 days then pour it into fertile grassy areas and hope for the best.
The more you do this the more likely you are to get puffballs to grow that year or the next. They grow from fresh spores instead of developed underground mycelium so you won’t be able to make a patch that comes back every year.
In this blog post, we will teach you everything you need to know about growing puffball mushrooms at home. Let’s get started!
Note: If you click some of the links or pictures in this article we may earn a small commission at no additional cost to you.
Can You Grow Puffball Mushrooms?
Not easily. Puffballs grow from fresh spores, and the probabilities are low that you will be able to get them to grow successfully. If you do get them to grow, it can take many weeks or even months for the mushrooms to mature and form new puffballs above ground.
Don’t let this discourage you though. If you can find puffballs early in the summer it’s worth trying.
The materials are cheap (just some distilled water jugs and molasses) and it only takes 2 days to prep some spore jugs.
Each mature puffball produces about 7 trillion spores but only 1 in a trillion will germinate. So the more jugs and more puffballs you try the higher your chances.
How to Grow Puffball Mushrooms
Growing puffball mushrooms is a bit of a challenge, but with some time and effort, you may be able to get them to grow. The process is simple – innoculate some distilled water with puffball spores and add some molasses to feed them. Pour this mixture into fertile grassy areas and hope for the best.
If you’re lucky, you may see some puffballs growing within a few weeks or months.
Things You’ll Need
- A gallon of distilled water (unopened jug)
- Molasses (unopened jar)
- Salt
- Mature puffball mushroom (fully brown but before spore burst)
Click any of the images below to buy on Amazon or check the price. We recommend the molasses and the 6 packs of distilled water shown below. You can also buy spores but keep in mind they AREN’T GUARANTEED to grow. But it’s worth a shot!


Step 1 – Find a Mature Puffball Mushroom
This is the most important step. You need to find a puffball mushroom that is mature but has not yet burst open and released its spores.
The best time to look for them is in late summer. If you wait till early fall you might not have enough time to grow them again that year but try anyway!
Step 2 – Aquire Supplies (distilled Water, Molasses)
You’ll need one gallon of distilled water, salt, and a jar of molasses. Get the molasses from an unopened jar so you don’t contaminate it with other things in your kitchen.
The same is true for the distilled water – use unopened jugs to reduce the potential for contamination.
We recommend you get several jugs. The more you have the higher your chances of success. One jar of molasses is enough for lots of jugs.
Step 3 – Add Molasses, Salt, and Spores to Distilled Water
Next, add 1 teaspoon molasses and a pinch of salt to the gallon jug of distilled water. Swirl it around to mix it up then carefully cut a small hole in the puffball mushroom and squeeze the spores in.
Do this outside as you’re likely to spill spores all over the place. You also don’t want to breathe this in. They aren’t poisonous but it’s best to at least wear a dust mask during the spore step.
Put the lid back on tight and shake it up to evenly distribute the spores.
Step 4 – Let Sit 2 Days at Room Temperature out Of Sunlight (don’t Disturb)
Set the jug in a cool dark place like a closet for two days. Do not open it or disturb it during this time.
Step 5 – Pour Over Fertile Lawns
After two days have passed, find some fertile grassy areas. Try and mix it up to increase your chances of success.
Choose dark green areas of your lawn (more green more fertile).
Try grassy areas next to the forest or bushes, streams, or ponds.
The more places and types of places the better. Use at least 1/3 to 1/2 of a gallon per area. That’s why it’s better to make 3-5 gallons so you have more to spread.
Puffball Growing Tips
- Puffballs like nitrogen-rich soils. If you can find some areas that have been fertilized recently, those are good places to start.
- Don’t water the area after you’ve poured your mixture on. The goal is to keep the spores moist but not soggy. If it’s too wet they will rot.
- Be patient. It can take weeks or even months for them to show up.
- Check the areas regularly and look for small white bumps. These are the beginning of your puffballs!
- Do not pick them until they are at least the size of a tennis ball.
- If you see any that are brown, have gills, or have bumps on the skin those are not puffballs. They could be poisonous and you should not eat them.
- Be sure to positively confirm it’s a giant edible puffball before eating! Make sure it’s spongy, white all the way through and there are no gills. Gilled mushrooms that look like puffballs are often deadly poisonous Amanitas.
Watch the video below for a quick ID on puffballs.
And there you have it! With some luck, you’ll be able to grow your puffballs. Be patient and don’t give up
Conclusion
You can grow your puffballs by finding a mature mushroom, collecting its spores, and spreading them in nitrogen-rich soil. Be patient as it can take weeks or even months for them to sprout. When they’re ready to harvest, make sure they’re at least the size of a tennis ball and that there are no gills present. With a little bit of luck, you’ll be able to enjoy these delicious mushrooms that you grew yourself!
Hi, I’m John Stephens, chief editor and writer for Totalgardener.com. I’ve been gardening and raising animals for over 15 years starting with a small backyard plot in Northern Virginia where I grew corn, potatoes, squash, and using a high mulch technique called the Ruth Stout Method. I also raised ducks and small mammals for meat and eggs in a movable pen similar to the ones used by Joel Salatin. I later moved to Colorado where I experimented with growing greens using aquaponics inside. I eventually added a microgreens setup and home sprouting operation. I’m excited to share everything I’ve learned plus more from the other local gardening and animal raising experts I know.


