Did you know that you can grow your own mushrooms right at home using mushroom stems? It’s really easy and a lot of fun, too! Keep reading for instructions on how to get started.
Can You Grow Mushrooms from Store Bought Mushrooms?
As long as you have the right kind of mushrooms from the store and they’re still viable, you can grow spawn from their stems or their spores. Agaricus bisporus, also known as the table or button mushrooms, is one of the easier ones to grow and you’ll find it at most good sized grocery stores.
According to representatives of the Mushroom Council, around 90 percent of mushrooms eaten in the United States belong to this variety. That means you should have a good chance to find some that you could grow new mushrooms from.
Look for fresh ones in loose packages where they still have the whole stem. It’s this area that you’ll need to grow new spawn from existing mushrooms.
You’ll probably have pretty poor results with growing new mushrooms from frozen packages, though this is at least a theoretical possibility. It’s normally not possible to grow new crops from ones you get out of a can, however.
Note: If you click some of the links or pictures in this article we may earn a small commission at no additional cost to you.
Which are Easiest to Regrow from Stems?
White agaricus bisporus mushrooms are usually considered to be the easiest to grow. You’ll find them under the following culinary names:
- Button mushrooms
- Cultivated mushrooms
- Table mushrooms
- Champignon
- Common mushroom
Brown cultivars from the same species are fairly easy to grow as well, and they’re often considered much tastier. These include:
- Swiss browns
- Italian browns
- Chestnut mushrooms
- Roman browns
- Cremini
- Crimini
- Baby bellas
Some people use the term chestnut mushroom to refer to other types of fungi, so you’ll want to be careful when shopping.
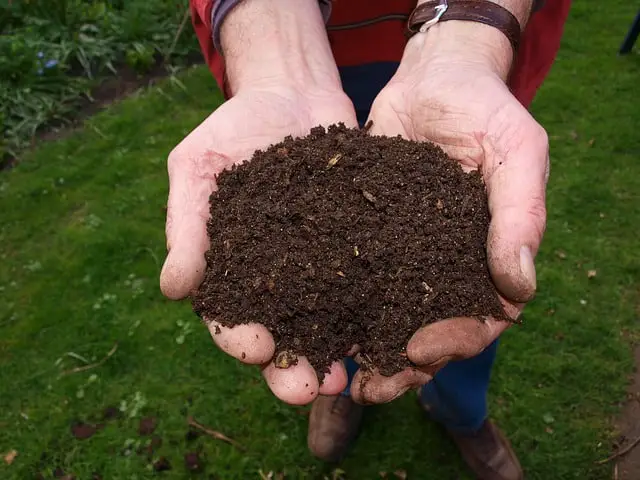
What Substrate Should You Use?
One study at Penn State found that a combination of horse and poultry manure mixed with brewers grains and gypsum did the best for white button mushrooms. More traditional homemade mixes, like those involving hay and coffee grounds, are known to work pretty well too.

Oyster mushroom stems might start to germinate on shredded cardboard. You’ll need to prepare it properly for this kind of flushing to occur, however.
How Do You Prepare the Substrate?
Your substrate will have to be sterilized in a pressure cooker or other device that can bring it to a boil and kill any sort of microbes that might be in it. The presence of any bacteria or other fungus could create secondary cultures, which will possibly ruin the growth of your mushrooms.
Depending on the type of mushrooms that you’re growing, you’ll normally have to cool this mixture down and then drain it. While mushrooms do need quite a bit of moisture to grow, excess amounts create an environment where bacteria and other microorganisms can start growing.
Substrate that consists largely of recycled material, such as coffee grounds, has to be carefully prepared in this way. It tends to have the highest risk of becoming contaminated later on.
How to Grow Oyster Mushrooms from Stems
Since the bottom two inches of an oyster mushroom stem is only viable for a day or two after harvest, you’ll want to start these following steps as soon as possible:
- Shred your substrate into small pieces; some type of natural cardboard work well
- Pour boiling water into the substrate and wait for it to cool down
- Drain the mixture
- Grab a clean food container that’s been sanitized and poke air holes into it
- Squeeze some of the substrate into the container – you may need to use a self-tapping screw to make a sufficient number of holes
- Sanitize scissors or a paring blade with boiling water and alcohol
- Use it to partition off some of the stem material into the container
- Split the stem pieces until there’s enough viable pieces in the substrate
- Cover it over with another layer of substrate mix
- Pack the mixture down gently
- Close the container with the original lid, which should be cleaned to prevent mold growth
- Continue using any remaining material to prep other containers
- Place them in your dedicated growing area
- Watch for the containers to produce fresh mycelium
- Use the new mushroom spawn the same way you would any other spawn material
While opinions differ on how finicky oyster mushrooms are to grow, this spawn should be clean and free of contaminants as long as you’ve followed all of the relevant sanitary practices. You’ll naturally only want to grow it on clean substrate as a result.
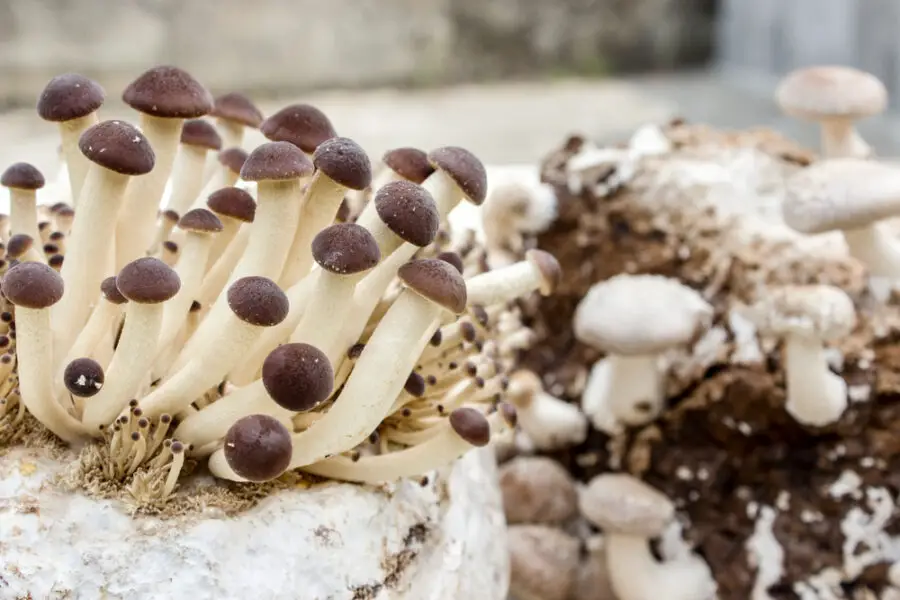
How to Grow Button Mushrooms from Stems
A number of fungiculture enthusiasts consider growing spawn from button mushroom stems relatively easy compared to most other types of culinary fungi. These steps are somewhat easier than those used for oyster mushrooms as a result:
- Sanitize a set of mason jars – you’ll need enough for all of the stems you’ve got on hand
- Using a sanitized spoon, place some prepared coffee grounds into the bottom of one of your jars
- Shake it around until the level is even
- Once you have the bottom two inches covered, use a cleaned blade or scissors to cut stems for the jar
- Continue prepping other jars until you have all of your stems put away
- Add the mushroom caps if you have any on hand – fresh button mushrooms from the store may work well
- Remove the solid lid from the rings of each jar and replace them with tissue paper
- Cover the jars with these to let them breathe
- Place them in your dedicated growing area
- Wait for mycelium spawn lines to appear
- Treat this mushroom spawn the same way you would any other
Due to the viability of button or table mushrooms, you may find that you can collect the spawn, freeze it and then use it later. This is dependent on many factors, however, so your mileage may vary so to speak.