To spawn a mushroom at home you need to hydrate your grains, make specialized lids, simmer, drain, and dry your grains, sterilize your jars, inoculate your grains with liquid culture, and colonize your grains. Then you can use your spawn to inoculate substrates and produce mushrooms.
Do you want to grow mushrooms and take the leap from mushroom grow kits to producing your own spawn? Read on to discover how to produce your own spawn at home!
How do you make mushroom grain spawns?
According to Fresh Cap, you can grow any kind of cultivable mushroom when you make spawns at home. You don’t need too much space or money to do this.
There are six steps to making grain spawn:
- Hydrate your grains by soaking them.
- Make some specialized lids.
- Simmer, drain, and dry your grains.
- Sterilize your jars.
- Inoculate your grains with liquid culture.
- Colonize your grains.
How do you hydrate your grains?
The first thing you need to do to make grain spawn is soak cereal grains.
You can use brown rice, wheat berries, or rye berries (preferably organic). Rye berries are your best option.
You soak your grains by putting them in a bowl or bucket, covering them in water, and letting them soak for 12-24 hours. Don’t soak them for longer than a day or they will sprout.
The reason you soak your grains is so that they become hydrated. They will increase in volume 200% or 300%.
Use 1 cup of dry grains per 3 cups of spawn that you want.
How do you make specialized lids?
You can make your specialized lids while your grains soak.
These lids let you inoculate your grains without using a laminar flow hood.
First, drill two holes into the top of your lids. Drill one ¼” hole in the center and a ⅛” hole towards the lid’s edge.
The smaller hole will be a self healing injection port and is how you can put your liquid culture into the jar in open air. Cover the smaller hole with high temperature silicone treatment and let it dry overnight.
Make sure your silicone is high temperature so it can handle the sterilization process.
The silicone will let you inject right into the jar without opening the lid. With a sterile needle, you can inject straight through the silicone. When you pull out the needle, the hole will seal back up.
How do you simmer, drain, and dry your grains?
Now, simmer your grains on the stove. This hydrates your grains. It also softens them, allowing the mycelium to consume them more easily.
All you have to do is cook your soaked grain for roughly 15 minutes on the stovetop. Don’t cook your grains for more than that because eventually the grains will crack and become mushy.
Once the grains are done simmering, you have to drain them.
If you’re producing a lot of mushroom spawns you can drain them on a large screen, but if it’s just a small batch you can put them into the sink as long as the drain cover is on. It will take about an hour for the grains to drain, and then you can fill up your jars.
Fill them roughly ⅔ – ¾ of the way. This makes it easier to shake them later.
How do you sterilize your jars?
Now that your jars are filled, you need to sterilize them. This will kill contaminants in your grains that would overtake your mushroom culture.
You can use a pressure cooker or pressure canner to sterilize them.
Pressure cookers are relatively inexpensive and are worth the investment if you plan on growing mushrooms at home from your own spawns.
You will also be able to use your pressure cooker to sterilize agar and fruiting blocks, so it is useful in more ways than one.
Once you fill up your jars,cover the lids with tinfoil. This prevents water from dripping into the lids.
Put them in at 15 psi for roughly an hour and a half.
How do you inoculate your grains?
Now you can inoculate your grains straight through the silicone and you don’t have to open the jars to do so.
Because you’re not opening your jars, you are able to inoculate your grains without a still air box or laminar flow hood.
You can find liquid culture syringes online. They will already be sterile when you get them.
Clean the top of your jar lids with alcohol. Now use the needle to inject roughly 1-2 CC of culture into each jar.
If you’re really concerned about staying sterile, you can use a lighter to sterilize the tip of your needle between each injection.
How do you colonize your grains?
Put the jars out of direct sunlight and the mycelium will colonize your grains.
Check on them sometimes to see how well the mycelium is doing and to make sure there is no bacteria or mold.
Your jars will be fully colonized in about a week or two. Now you have mushroom spawn!
What are mushrooms?
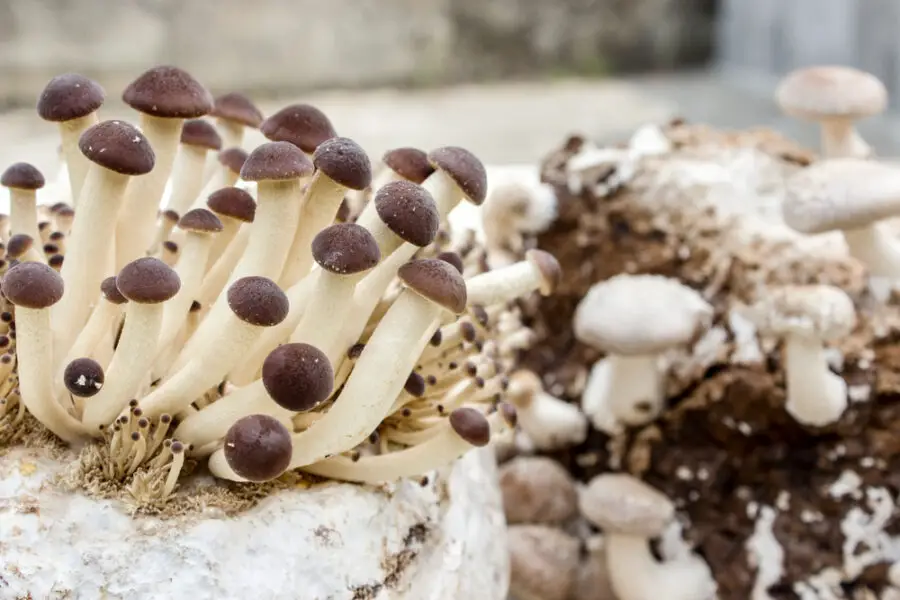
The Ministry of Forest explains that mushrooms are the fruit, or reproductive structure, that some fungi produce.
There is a vast underground web of structures that develop before a mushroom fruit appears. The fruit is simply a means of spreading spores, which are comparable to seeds.
Mushrooms have their own kingdom and are not a plant or an animal. They are different from plants and animals in how they get nutrients.
Fungi mycelium grows into the food source and puts out enzymes that digest the food externally. Then the mycelium absorbs the nutrients.
What is mycelium?
When people think of mushrooms, they only think of the visible fruit. But really most of the mushroom lives underground. The root system of mushrooms is called the mycelium.
Mycelium have a mass of thread-like filaments called hyphae. The threads extend into wood, plant matter, and soil to get water and nutrients.
First they excrete enzymes into the substrate to break it down, and then the mycelium’s cell walls absorb the broken down nutrients.
The nutrients then travel all the way to the fruiting body.
Mycelium can communicate with plants and they work symbiotically with roots to exchange nutrients for carbohydrates.
What are mushroom spawns?
Mushroom spawns are mycelium that are grown on a substrate. Spawns allow you to grow mushrooms.
How do you use mushroom spawn?
You can use mushroom spawn to inoculate fruiting blocks, straw or wood chips, monotub, or to create more spawn. Mushroom spawn is the first step to growing mushrooms!


